The Genes filter is an essential tool for quickly targeting variants of interest within the analysis. It is accessible in the Variants tab.
Accessing the Genes Filter
You can access the Genes filter in two ways:
-
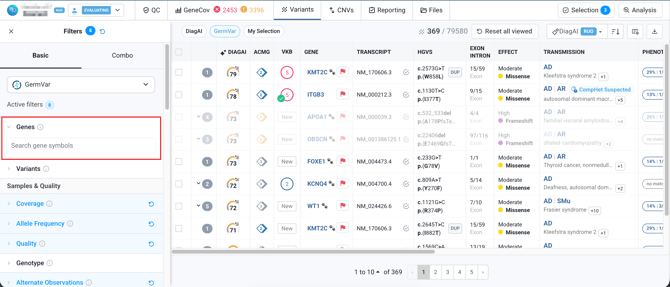
Default Filter Panel: The filter panel is open by default when you view the Variant Table ('Variants' tab). The Genes filter is located at the top of this menu.
-
"Filters" Button: You can also open the filtering panel by clicking on the "Filters" button located in the top left corner of the Variant Table.

Operating Principle
The role of the Genes filter is to search for genes for which variants are actually present in the analysis, and this is done independently of other filters that might already be applied to the table (e.g., frequency or quality filters).
Search and Display
-
Typing: When you start typing the name of a gene, the dropdown menu displays up to 20 genes as suggestions.
- Several genes can be entered simultaneously in this filter.
-
Limitation: The filter will not suggest genes for which no variant is present in the analysis. It only suggests analyzed genes that contain variants.
Case of Genes Not Found
If you type the complete name of a gene that contains no variants in the analysis, or if the gene is not targeted by the manifest, an error message will appear:
[Gene Name] is not covered by the manifest, incorrect or no variant found for this gene.
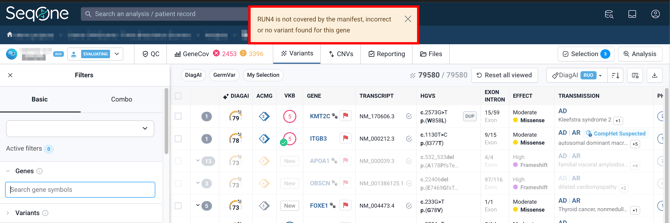
This message indicates three possible causes:
-
Gene not covered by the manifest (the gene was not targeted by the analysis protocol).
-
OR Incorrect Gene (typo, wrong nomenclature, etc.).
-
OR No variant was detected on this gene in this patient (the gene is targeted, but no variant was found).